The Art of Circuit Printing: Turning Ideas into Reality
Have you ever had an idea for an electronic project, but didn't know how to bring it to life? That's where circuit printing comes in. Circuit printing is the process of creating a custom circuit board that can be used in a wide range of electronic devices. In this article, we'll explore the world of circuit printing, how it works, and how you can get started with your own projects.
First, let's start with the basics. A circuit board is a flat piece of material that contains electronic components, such as resistors, capacitors, and transistors, that are connected by metal traces. These components and traces work together to create an electronic circuit that can perform specific functions.
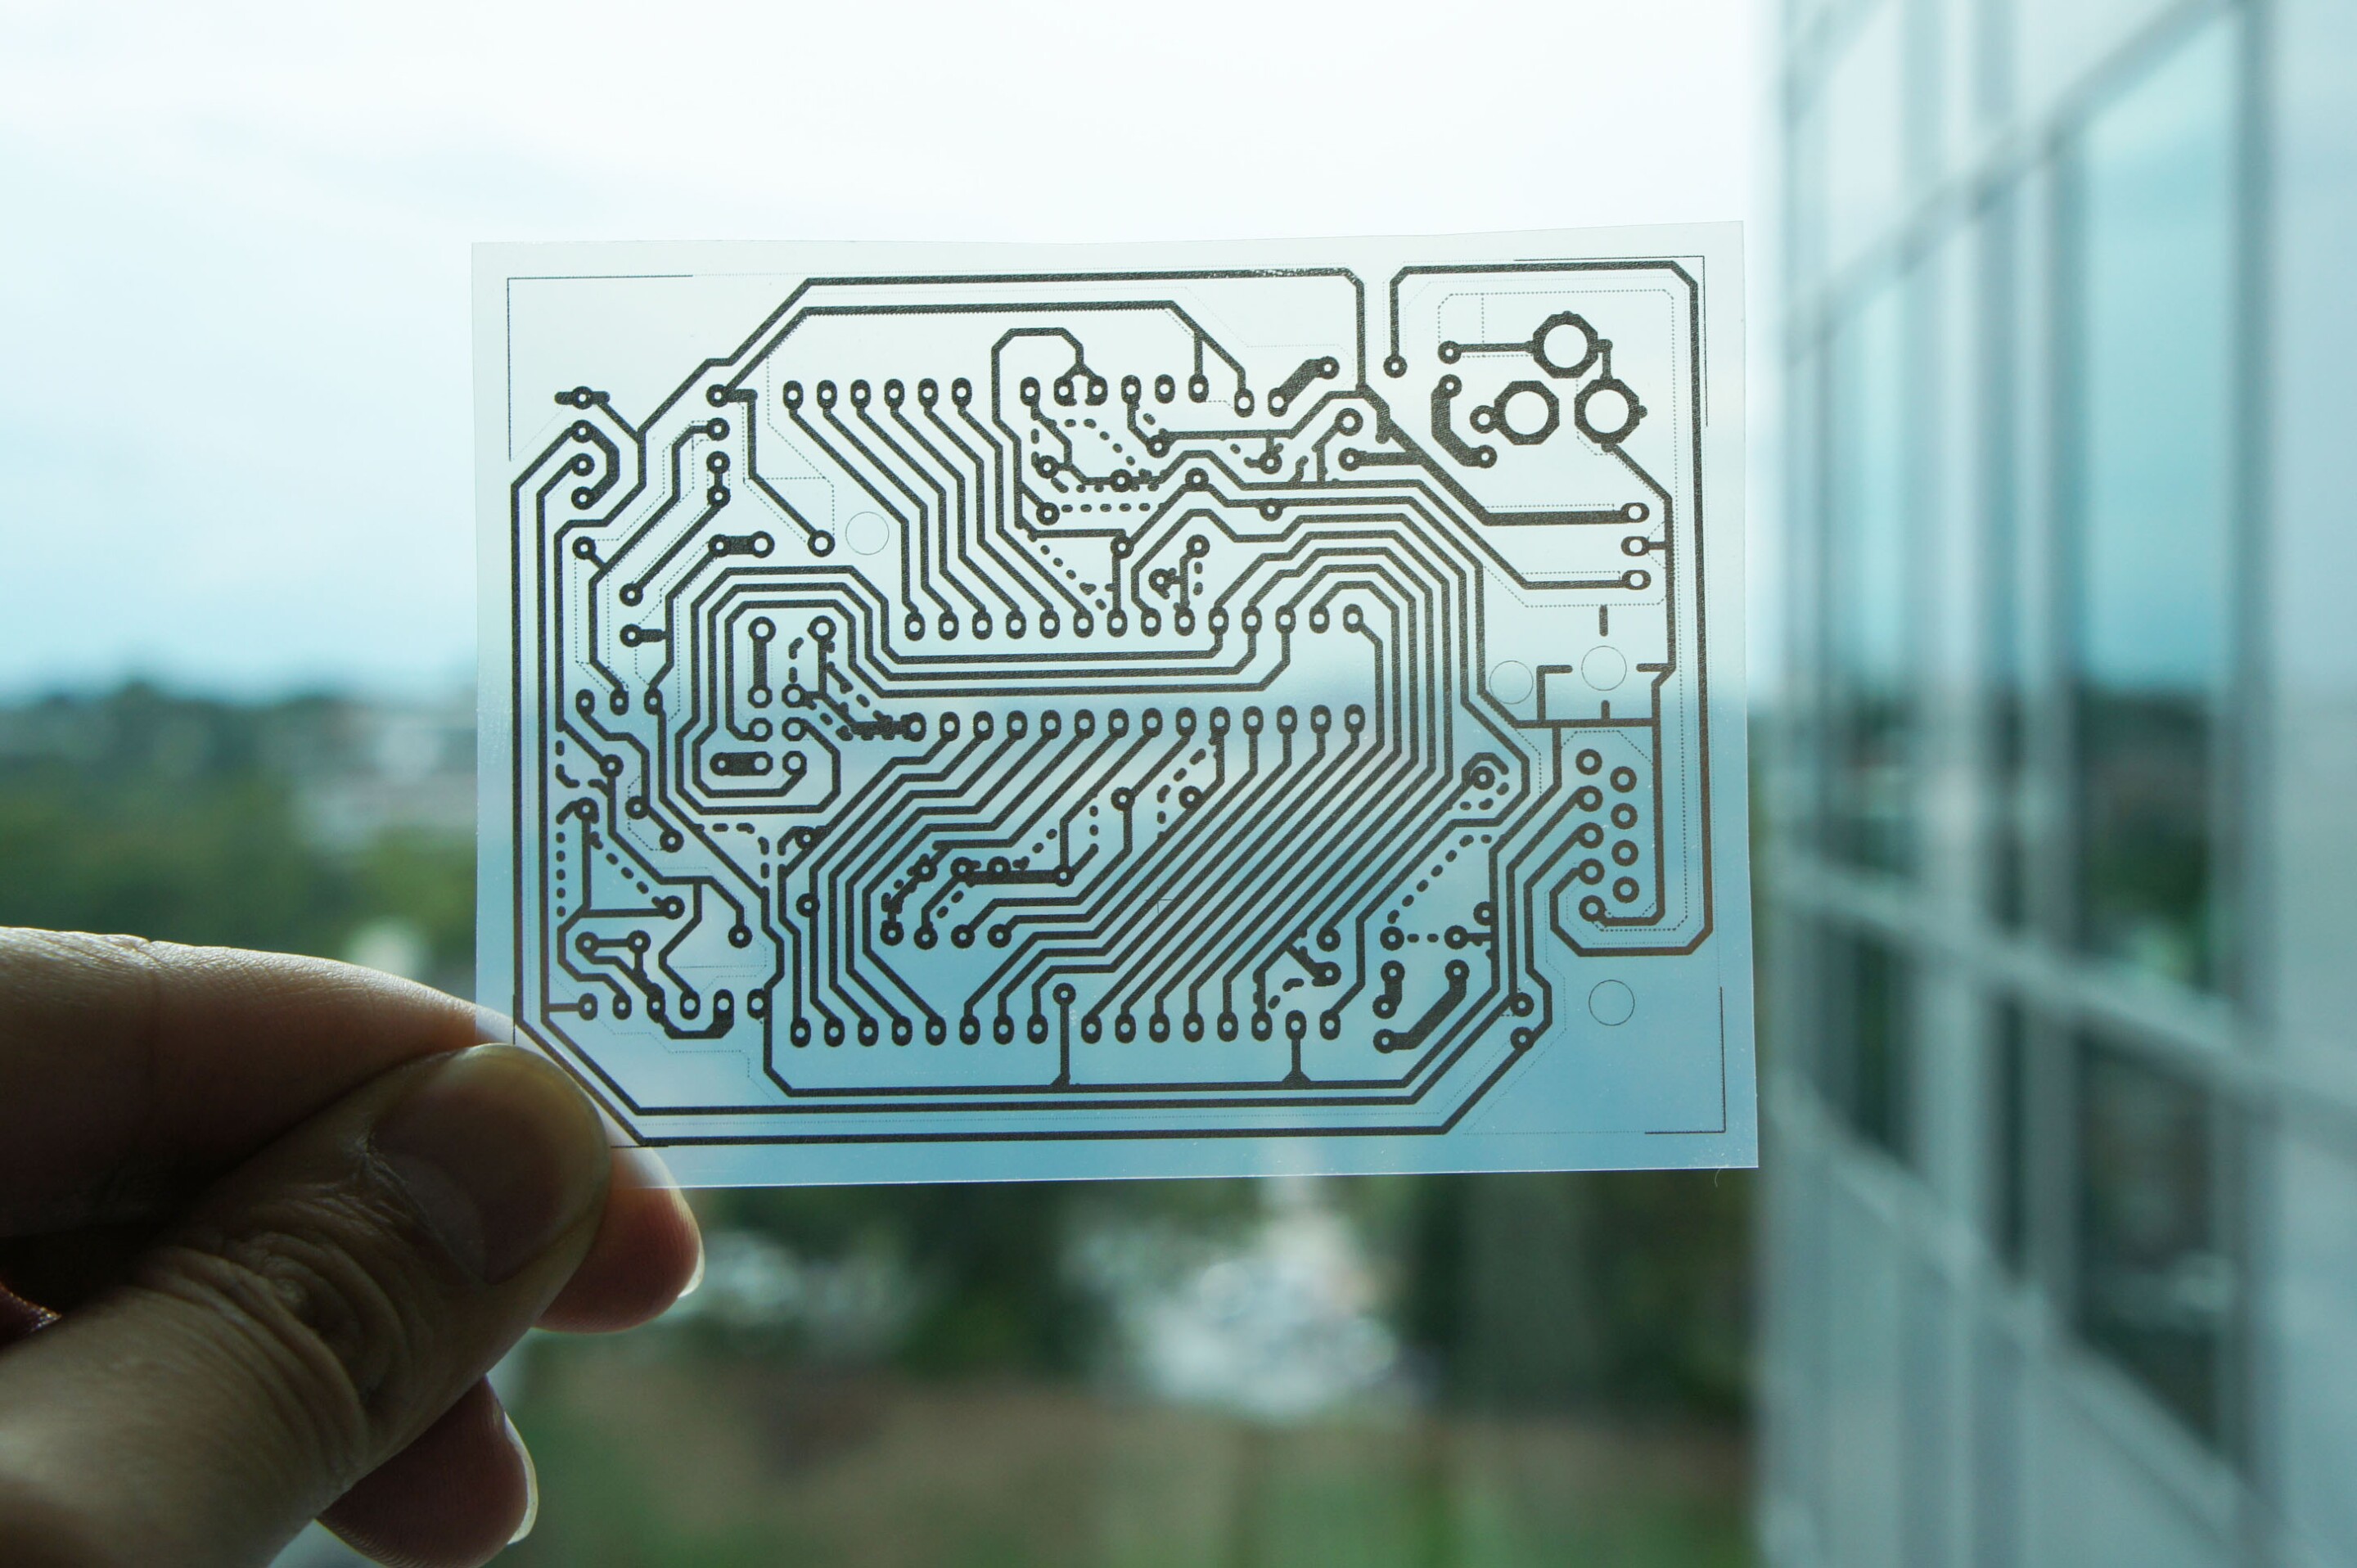
Circuit printing involves designing a circuit board using specialized software, printing the design onto a special type of paper or film, and then transferring the design onto a copper-clad board using heat and pressure. The copper on the board is etched away in areas where there are no traces or components, leaving behind a clean and precise circuit board.
So why would someone want to create their own circuit board? One reason is customization. By creating your own circuit board, you have complete control over the design and functionality of your electronic device. You can also save money by creating your own circuit boards instead of purchasing pre-made ones.
Another reason is that circuit printing allows for faster prototyping. Instead of waiting weeks for a circuit board to be manufactured and shipped, you can create your own circuit board in a matter of hours or days.
But how do you get started with circuit printing? Here are some steps to follow:
1. Choose your software: There are many software options available for designing circuit boards, including Eagle PCB, KiCAD, and Altium Designer.
2. Design your circuit: Use your chosen software to design your circuit board. This involves placing components and traces on the board and ensuring that they are properly connected.
3. Print your design: Once you have designed your circuit board, print it onto special transfer paper or film using a laser printer.
4. Transfer your design: Place the transfer paper or film onto a copper-clad board, and then use heat and pressure to transfer the design onto the board.
5. Etch your board: Use a chemical solution, such as ferric chloride, to etch away the copper on your board in areas where there are no traces or components.
6. Drill holes: Use a drill to create holes in the board where components will be placed.
7. Solder components: Place and solder your components onto the board, following your design.
And voila! You now have a custom circuit board that you can use in your electronic projects.
In conclusion, circuit printing is a fascinating and rewarding process that allows you to turn your ideas into reality. With a little bit of software knowledge and some basic tools, you can create custom circuit boards that can be used in a wide range of electronic devices. So why not give it a try and see where your creativity takes you?
Labels: Interesting, Technology

0 Comments:
Post a Comment
Subscribe to Post Comments [Atom]
<< Home